How to Fix an Exhaust Pipe Without Welding: Clamps, Wraps and Sleeves
Small exhaust leaks can be patched with wraps, putty, clamps or sleeves. Learn which fix lasts, how to do it safely and when to leave it to a shop.
WelderGuru is reader-supported. As an Amazon Associate we earn from qualifying purchases made through links on this page, at no extra cost to you. Learn more.
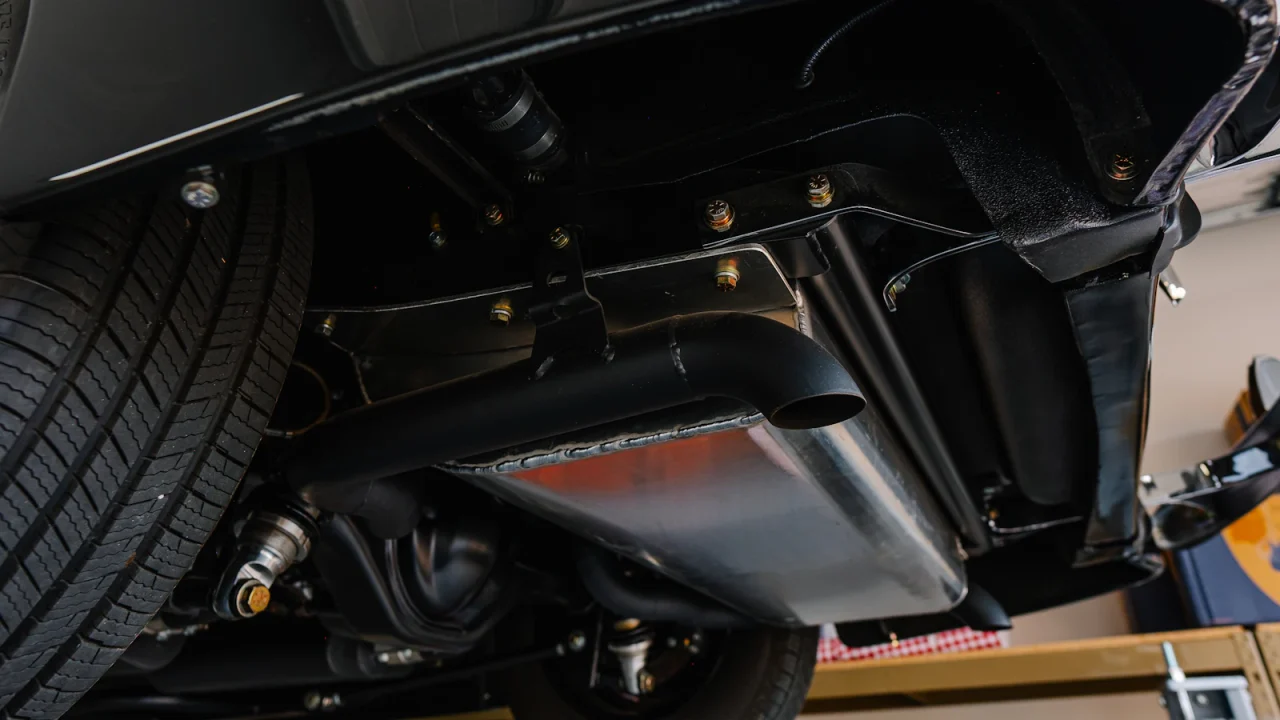
You can fix many small exhaust leaks without welding by using repair tape, exhaust putty, clamps, a repair sleeve or a clamp-on replacement section. Wraps and putty are short-term patches. Clamps, sleeves and bolt-on pipe sections are the fixes that can last for years when the surrounding pipe is still sound.
On this page
This guide covers which leaks are reasonable to fix at home, how to work safely, each option and when a welded repair is the better answer.
Why exhaust leaks matter and when not to DIY
The exhaust system carries engine gases, including carbon monoxide, out behind the car. A leak under the floor can let those gases into the cabin, especially when you are stopped or have a window or tailgate open. Carbon monoxide has no color or smell, and the CDC advises having a vehicle exhaust system checked every year for this reason. Leaks also make the car louder and can cause a failed inspection where your state requires one.
Some leaks are not home-repair jobs. Take the car to a muffler or exhaust shop if any of these apply:
- The leak is at the exhaust manifold, the manifold gasket or anywhere before the catalytic converter.
- The flexible section of pipe near the engine is cracked or frayed.
- The system is heavily rusted, flaking, sagging or held up by broken hangers.
- The leak is close to the fuel tank, fuel lines or brake lines.
- You smell exhaust inside the car or anyone in it has had headaches, dizziness or nausea while driving.
A patch on rotten pipe usually just moves the leak a few inches along. If the pipe crumbles when you press it with a screwdriver, the section needs replacing.
Safety prep before you start
Exhaust parts get hot enough to burn skin long after the engine is off. Let the car sit until the whole system is fully cool to the touch, which often takes an hour or more.
- Park on level, solid ground and set the parking brake.
- Raise the car on drive-on ramps or on jack stands placed at the lift points in the owner’s manual. Never work under a car held only by a jack.
- Chock the wheels that stay on the ground.
- Wear safety glasses, because rust and grit fall straight down when you work overhead. Gloves protect against sharp, scaly pipe.
- Wire brush or sand the area around the leak to bare metal so you can see the real damage and so the repair can seal.
Your repair options compared
Match the fix to the size of the damage and how long you need it to last. Each product type has its own temperature limits and steps, so read the instructions on the package before buying.
| Option | Best for | How long it tends to last | Limits |
|---|---|---|---|
| Exhaust repair tape or wrap | Small holes and cracks on straight pipe | Temporary, often months at best | Needs sound pipe around the hole; can loosen with heat cycles |
| Exhaust putty or paste | Pinholes, small cracks and leaking slip joints | Temporary to medium term | Cracks out if the pipe flexes; poor on large gaps |
| Band clamp or U-bolt clamp | Leaking joints between two pipes | Long term on sound pipe | Does not cover holes away from a joint |
| Repair sleeve or slip-joint connector with clamps | Joining two pipe ends or bridging a short damaged section | Long term on sound pipe | Must match the pipe diameter exactly |
| Clamp-on replacement section | Rusted-out lengths of pipe or a failed muffler connection | Close to a new system if fitted well | Requires cutting out the old section and good access |
Most durable DIY fix
Exhaust pipe repair clamp
Why consider it
- Measure the outside diameter of your pipe before ordering, since clamps are sized to fit
- Band clamps grip around the full circle and tend to seal better than U-bolt clamps
- Pair with a sleeve or slip-joint connector when bridging two pipe ends
Best for: Sealing a leaking joint or securing a repair sleeve on pipe that is still sound
See current options on Amazon (opens Amazon in a new tab)
Type-level recommendation. Compare current models, specifications and prices on Amazon. We may earn a commission.
How to do each repair
These steps are general. Where the package instructions differ, follow the package.
Tape or wrap
Clean the pipe to bare metal and wipe off dust. Many wraps are activated with water before you apply them. Wind the wrap tightly with plenty of overlap, extending well past the damage on both sides, and secure the ends as the instructions describe. Most wraps cure by heat, so the instructions usually tell you to run the engine for a set time afterward. Do that outdoors only.
Putty or paste
Clean and roughen the area, then press the putty firmly into the hole or crack and smooth it over the surrounding metal. Some kits include a backing patch or wrap for larger holes. Let it air dry for the time stated, then complete any engine-run cure outdoors.
Clamps on a leaking joint
Clean the joint, apply putty or sealant to the joint if the product calls for it, then slide the clamp over the overlap and tighten it evenly. A band clamp seals around the whole circumference, while a U-bolt clamp pinches the pipe.
Sleeves and clamp-on sections
Mark the damaged section, support the system so it cannot drop, and cut out the bad pipe with a hacksaw, pipe cutter or cutoff wheel. The guide to cutting metal with an angle grinder covers safe cutting technique. Deburr and clean the cut ends, slide on the sleeve or replacement section, and clamp both ends. Check that hangers still carry the weight and that nothing touches the body, fuel lines or brake lines.
Checking the repair
Lower the car, then start it outdoors in open air, with the tailpipe pointing away from doors, windows and people. Never run the engine inside a closed garage, and the CDC advises against running it in a garage attached to a house even with the door open.
- Listen for ticking, puffing or hissing near the repair. A sealed system sounds smooth and even.
- After a short drive, check for fresh black soot marks around clamps and patches, which point to a remaining leak.
- Recheck clamp tightness after the first few heat cycles, since joints can settle.
- If you smell exhaust inside the car at any point, stop using it and have the system inspected.
When welding is the better fix
A welded joint or a welded-in section of new pipe is usually more permanent than any clamp or wrap, especially when space is tight or the original system was welded from the factory. Exhaust shops weld pipe every day, and replacing a short section is often a quick job.
If you want to learn to weld for other projects, start with the welding safety basics and the welding PPE checklist. Thin exhaust tubing is a poor first project, so practice on flat plate first using the mild steel welding guide. The MIG welding basics and flux-core welding basics guides explain the processes most home welders start with.
Frequently asked questions
Is it safe to drive with an exhaust leak?
How long does exhaust repair tape last?
Can I use a clamp on a hole in the middle of a pipe?
Do I need to run the engine to cure exhaust putty?
Sources and further reading
Keep reading
Related guides
Workshop guide
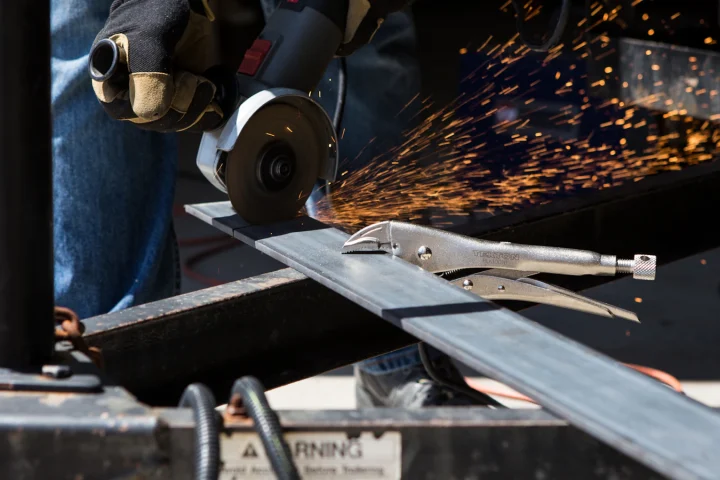
How to Use an Angle Grinder to Cut Metal Safely
Cut metal with an angle grinder safely: choose the right disc, keep the guard on, secure the work, control sparks and avoid…
Repair guide
How to Weld Cast Iron: Preheat, Rods and Avoiding Cracks
Cast iron can be welded with nickel stick rods or brazed, if you control heat. Learn when to repair a casting, how…
Careers
Welding Careers: Training, Certification and How to Get Started
Where welders work, the main training routes, how welder certification works and the skills employers look for when you are starting out.