9 Common Beginner Welding Mistakes (and How to Fix Them)
Nine common beginner welding mistakes, from dirty metal and poor clamp contact to wrong settings and travel speed, with a practical fix for each.
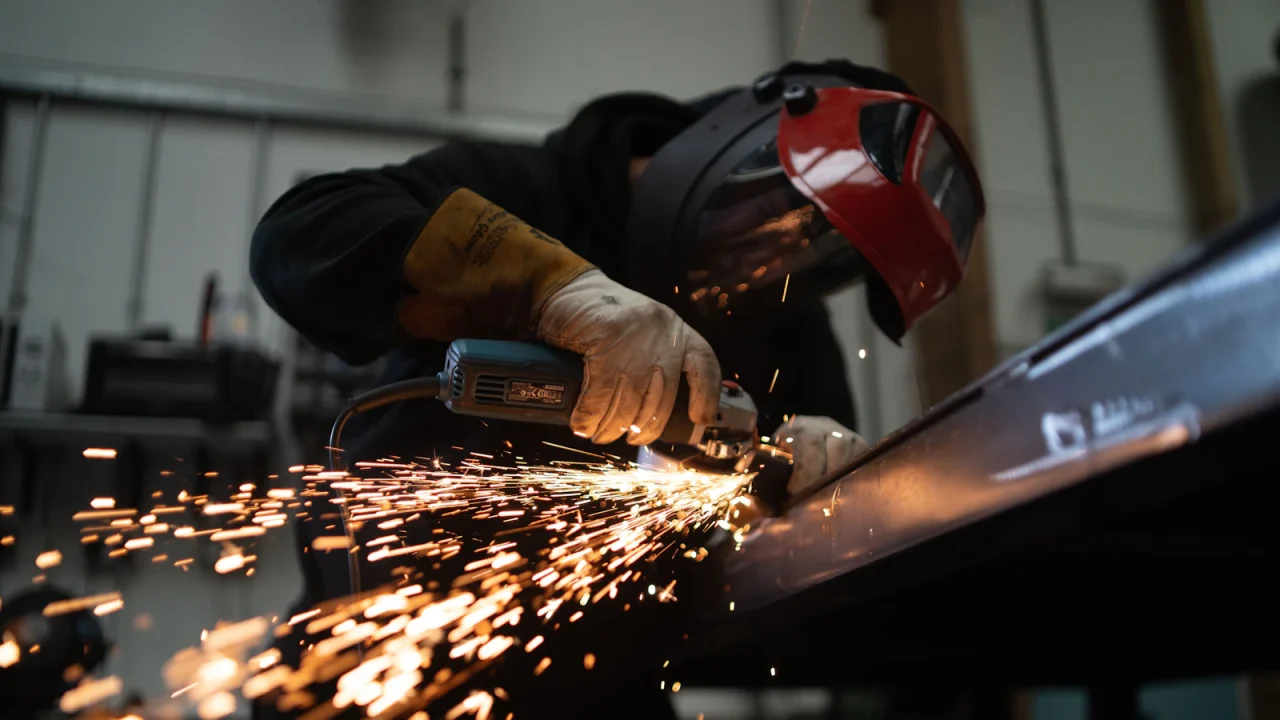
Bad beginner welds usually come from a short list of causes: dirty metal, a poor work clamp connection, heat that does not suit the thickness, and inconsistent travel speed, angle or wire stickout. Correct those and porosity, heavy spatter, burn-through and cold, lumpy beads show up far less often.
On this page
The nine mistakes below are grouped by when they happen: before you weld, while you set up the machine, and while the arc is lit. The examples lean on MIG and flux-core, but most of the fixes apply to stick as well.
Mistakes before you strike an arc
1. Welding over rust, paint, mill scale or oil
Contamination boils into the puddle and comes out as pinholes, spatter and poor fusion. Grind or sand the joint and about an inch either side to bright metal, including the gray mill scale on new hot-rolled steel. Remove oil with a non-chlorinated cleaner and let it dry completely. Never use chlorinated brake cleaner on anything you are about to weld.
2. Clamping the work lead to a dirty or distant spot
The arc needs a complete circuit. A clamp on paint, rust or a loose table leg gives an erratic arc, stubbing wire and unexplained spatter. Clamp to clean bare metal on the workpiece itself, as close to the weld as practical, and replace a clamp that has weak springs or burned jaws.
3. Skipping fit-up and tack welds
Gaps cause burn-through, and weld heat pulls parts out of square as it cools. Fit the joint tightly, clamp it, then place small tack welds every few inches and re-check alignment before running the full bead. On butt joints in thicker plate, grind a bevel so the weld can reach the root instead of bridging the surface.
Mistakes in machine setup
4. Wrong polarity or gas for the wire
Solid wire with shielding gas runs on DC electrode positive. Self-shielded flux-core wire runs on DC electrode negative with no gas. Machines that do both usually need two leads swapped inside the wire compartment when you change wire, as shown in the manual. Missing that step produces harsh spatter and weak fusion. The gas has to match too: 75/25 argon/CO2 for mild steel and 100% argon for aluminum. The MIG gas guide lists the pairings.
5. Guessing at voltage and wire speed
Start from the settings chart on the machine, which is organized by wire diameter and metal thickness. A rough cross-check for MIG on steel is about 1 amp per .001 inch of thickness. Run a test bead on scrap of the same thickness, then adjust one control at a time. A steady, even crackle and a bead that blends into the plate at both edges mean you are close. Treat any setting as a starting point and confirm it against your manual.
6. Too little or too much shielding gas
A common indoor starting range for MIG is roughly 20 to 30 cubic feet per hour. Too little leaves the puddle exposed. Too much creates turbulence that pulls air in, and both cause porosity. Before raising the flow, look for an empty cylinder, a leaking fitting, a spatter-clogged nozzle or a fan blowing across the bench.
Mistakes while the arc is lit
7. Traveling too fast or too slow
Moving too fast leaves a thin, ropey bead that sits on the surface without fusing at the edges. Moving too slowly builds a wide heap, overheats the part and burns through thin metal. Keep the arc on the leading edge of the puddle and aim for a bead of constant width. Rehearse the motion along the joint with the trigger released first.
8. Wrong gun angle or too much stickout
For MIG, hold about 3/8 inch of wire beyond the contact tip. Letting it grow longer cools the arc, weakens gas coverage and adds spatter. Tilt the gun 5 to 15 degrees from vertical along the line of travel, and split the angle between the two pieces: 90 degrees for a butt joint, 45 for a fillet. Self-shielded flux-core uses a longer stickout and a drag angle, so follow the wire maker’s figures.
9. Welding without a clear view of the puddle
A scratched cover lens, poor lighting or your own hand blocking the joint all hide the puddle. Replace the cover lens, add light to the joint, and position your head to the side of the gun. Set the lens shade within the range recommended for your process and amperage using a helmet shade guide, never lighter. Brace your forearm on the bench so the gun moves smoothly.
Diagnose a bad weld by its symptoms
| What you see | Likely cause | Check first |
|---|---|---|
| Pinholes in the bead | Contaminated metal or lost shielding | Clean to bright metal, then gas flow, leaks and drafts |
| Heavy spatter | Wrong polarity, unbalanced settings or long stickout | Polarity, then the settings chart |
| Tall bead sitting on the surface | Too little heat or travel too fast | Raise voltage or wire speed one step and slow down |
| Holes burned through | Too much heat, a gap, or travel too slow | Lower the settings, close the gap, move faster |
| Groove melted along the bead edge | Voltage too high or gun angle off | Reduce voltage and re-aim at the joint |
| Arc cuts in and out | Poor work clamp contact or a wire feed problem | Clamp on bare metal, then drive roll tension and contact tip |
Safety shortcuts are mistakes too
Closing your eyes for a quick tack instead of dropping the helmet, welding in short sleeves, and leaving cardboard or solvent cans near the bench are shortcuts with real consequences. Arc light burns eyes and skin after brief exposure, and sparks can smolder for a long time before a fire shows. Grind galvanized coating off before welding because zinc fume causes metal fume fever, and keep chlorinated solvents out of the welding area entirely.
Run through the welding PPE checklist before each session. Once your beads are consistent on scrap, simple beginner welding projects are a good way to practice real joints.
Frequently asked questions
Why does my weld sit on top of the metal instead of blending in?
Why do I keep burning holes in thin metal?
Should I push or pull a MIG weld?
How can I tell whether my weld is strong enough?
Sources and further reading
Keep reading
Related guides
Buying advice
What Welder Should a Beginner Buy?
A beginner should usually buy a wire-feed welder: 120V flux-core for a low-cost start, or a gas-capable MIG machine for cleaner welds…
Comparison
MIG vs TIG vs Stick: Which Welding Process Should You Learn First?
MIG is the easiest welding process to learn first, stick suits outdoor work on rusty steel, and TIG offers the most control…
Guide
What Is Welding? How Metal Is Joined, Explained Simply
Welding joins metal by melting the edges of two pieces together, usually with added filler, so they cool into a single solid…