TIG Welding Basics: How It Works, What You Need and How to Start
TIG welding uses a tungsten electrode, argon gas and hand-fed filler rod to make clean, precise welds; learn the gear, AC vs DC setup and how to start.
WelderGuru is reader-supported. As an Amazon Associate we earn from qualifying purchases made through links on this page, at no extra cost to you. Learn more.
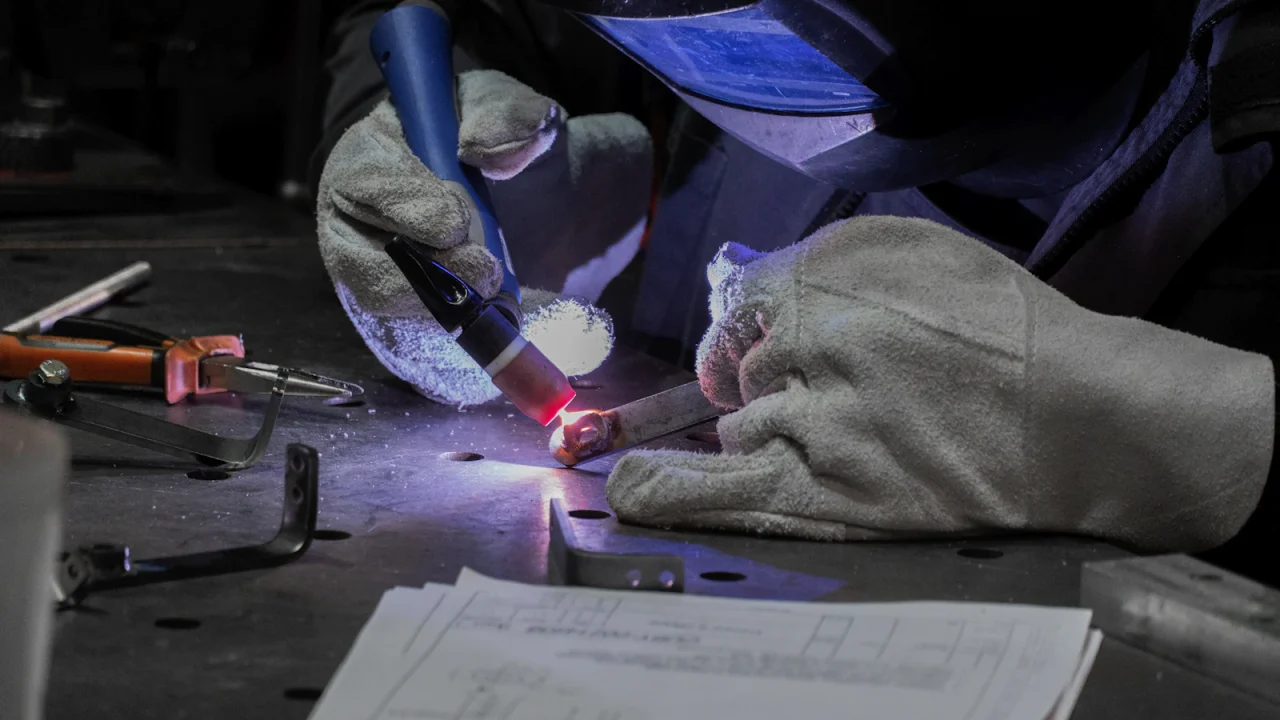
TIG welding (gas tungsten arc welding, or GTAW) melts the joint with an arc from a tungsten electrode that is not consumed, shields the puddle with argon, and leaves you to add filler rod by hand. You vary the heat with a foot pedal or fingertip control while the other hand feeds rod. That separation of heat and filler is why TIG produces the cleanest, most precise welds of the common processes, and also why it is the slowest one to learn.
On this page
To start you need a TIG-capable power source, a torch, a cylinder of 100% argon with a flowmeter regulator, tungsten, filler rod matched to your base metal, and very clean material. Steel and stainless steel run on DC electrode negative (DCEN). Aluminum needs AC, so decide which metals you want to weld before you choose a machine.
How TIG welding works
The arc forms between the tip of the tungsten and the workpiece. Tungsten has a very high melting point, so the electrode stays intact while the base metal melts into a small puddle. Argon flows out of the torch cup and keeps air away from the puddle and the hot tungsten.
There is no spatter and no slag, and very low amperage is possible on thin sheet and tube. The trade-off is speed, because TIG deposits metal slowly. If you are still choosing a process, the MIG vs TIG vs stick comparison shows where each one fits.
AC vs DC: match the current to the metal
DCEN for steel and stainless. With the electrode negative, most of the arc heat goes into the work and the tungsten runs cooler. You get a narrow, penetrating arc and a tip that stays sharp.
AC for aluminum and magnesium. These metals carry a tough oxide skin that melts at a far higher temperature than the metal under it. On AC, the electrode-positive half of each cycle breaks up that oxide while the electrode-negative half supplies penetration. Inverter machines often add AC balance and frequency controls. Start from the settings in the manual.
That makes DC-only versus AC/DC the main choice in the TIG welder buying guide.
For steel and aluminum
AC/DC TIG welder
Why consider it
- AC output for aluminum and magnesium, DC output for steel and stainless
- High-frequency or lift-arc starting avoids scratching the tungsten on the work
- Check whether a foot pedal is included or sold separately
Best for: Hobbyists who want to weld aluminum as well as steel and stainless
See current options on Amazon (opens Amazon in a new tab)
Type-level recommendation. Compare current models, specifications and prices on Amazon. We may earn a commission.
Tungsten: type, size and preparation
- 2% lanthanated (blue band): a common all-purpose choice that runs on both AC and DC.
- Ceriated (gray band): starts easily at low amperage, which suits thin material.
- Thoriated (red band): the traditional DC electrode. Thorium is mildly radioactive, so control the grinding dust or, as AWS suggests, choose a thorium-free type.
- Pure tungsten (green band): mostly for older transformer AC machines.
For general hobby work, 3/32 inch tungsten is a common size, with 1/16 inch for thin, low-amperage jobs. For DC, grind the tip to a point with the grind marks running lengthwise, toward the tip. Marks that run around the electrode make the arc wander. Use a dedicated fine wheel. If the tungsten touches the puddle or the filler rod, stop and regrind, because a contaminated tip gives an erratic arc and dirty welds.
Shielding gas and filler rod
Use 100% argon. The argon and CO2 blends sold for MIG will not work, because CO2 attacks the hot tungsten. Roughly 15 to 20 CFH is a common starting flow for a standard cup, but check your torch and machine manual. More is not better, since excess flow turns turbulent and pulls air into the shield. Drafts do the same, so TIG is a still-air, indoor process. Keep the cylinder secured upright.
Match the filler to the base metal:
- ER70S-2 for mild steel.
- ER308L for 304 stainless steel.
- ER4043 for general aluminum work.
Rod of 1/16 or 3/32 inch diameter covers most hobby thicknesses. Wipe each rod before use, because drawing lubricant and shop dust end up in the weld as porosity.
Torch, pedal and amperage control
Hold the torch like a pencil, tilted about 10 to 20 degrees from vertical so the tungsten points in the direction of travel. Keep the arc short, roughly 1/16 to 1/8 inch, and let the tungsten extend only a little past the cup. Bring the filler in low, around 15 degrees to the work, and dab it into the front of the puddle without lifting the rod tip out of the gas shield.
The foot pedal works like a throttle. You set the maximum amperage on the machine, and the pedal moves between minimum and that maximum. Press to form the puddle, ease off as the part heats up, and taper down at the end to fill the crater. Then hold the torch still until the post-flow gas stops, which protects both the cooling weld and the tungsten. A fingertip control on the torch does the same job where a pedal is awkward.
For a starting point on steel, a widely used rule of thumb is about 1 amp per .001 inch of thickness, so 1/8 inch (.125) plate starts near 125 amps at full pedal. Treat that as a conservative starting figure only, and confirm it against your machine’s chart and manual. Aluminum generally needs more and thin stainless less.
How to start practicing
- Clean everything. Take mill scale down to bright metal, wipe with acetone and let it dry. Never use chlorinated solvents such as some brake cleaners. On aluminum, use a stainless brush kept only for aluminum.
- Run beads with no filler. On 1/8 inch mild steel, practice starting the arc, holding arc length and moving a puddle of constant width.
- Add filler. Work on a steady rhythm: move, dab, move.
- Weld joints. Start with lap and T-joints in the flat position, then butt joints.
- Change one variable at a time. Move to thinner stock, then stainless, then aluminum on AC.
The TIG arc gives off intense ultraviolet light even at low amperage, so cover all skin and set your helmet using the helmet shade guide. Thin TIG gloves improve rod control, and the rest of the kit is in the PPE checklist. Expect dipped tungsten and gray, sooty welds at first. Both are covered in common beginner welding mistakes.
Frequently asked questions
Can I TIG weld aluminum with a DC-only machine?
Do I need a foot pedal to learn TIG?
Why does my tungsten keep turning black or balling up?
Is TIG a good first welding process?
Sources and further reading
Keep reading
Related guides
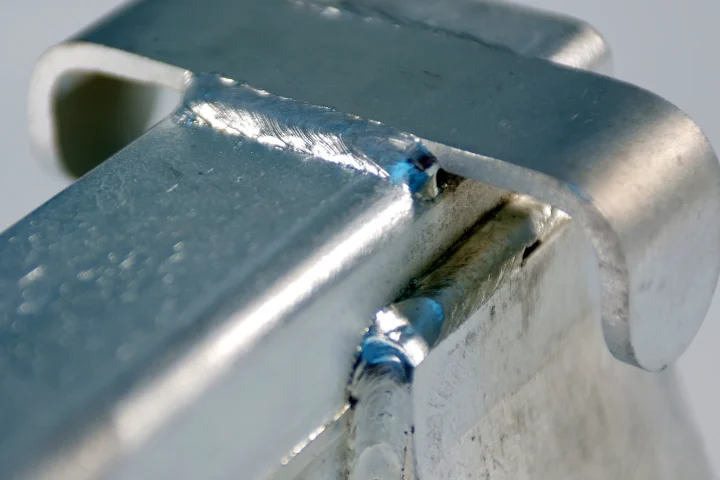
Material guide
How to Weld Aluminum: Processes, Prep and Common Problems
Aluminum needs AC TIG or MIG with a spool gun, pure argon and careful cleaning. This guide covers prep, filler choice, technique…
Buying advice
What Welder Should a Beginner Buy?
A beginner should usually buy a wire-feed welder: 120V flux-core for a low-cost start, or a gas-capable MIG machine for cleaner welds…
Material guide
How to Weld Mild Steel: The Beginner’s Material Guide
Mild steel is the easiest metal to learn welding on. This guide covers prep, process choice, wire and rod selection, fit-up, distortion…