Buying guide
Welding Helmet Buying Guide: Lenses, Shades and Fit
How to choose a welding helmet: auto-darkening or passive lens, shade range, arc sensors, viewing area, headgear fit and the Z87.1 marking.
WelderGuru is reader-supported. As an Amazon Associate we earn from qualifying purchases made through links on this page, at no extra cost to you. Learn more.
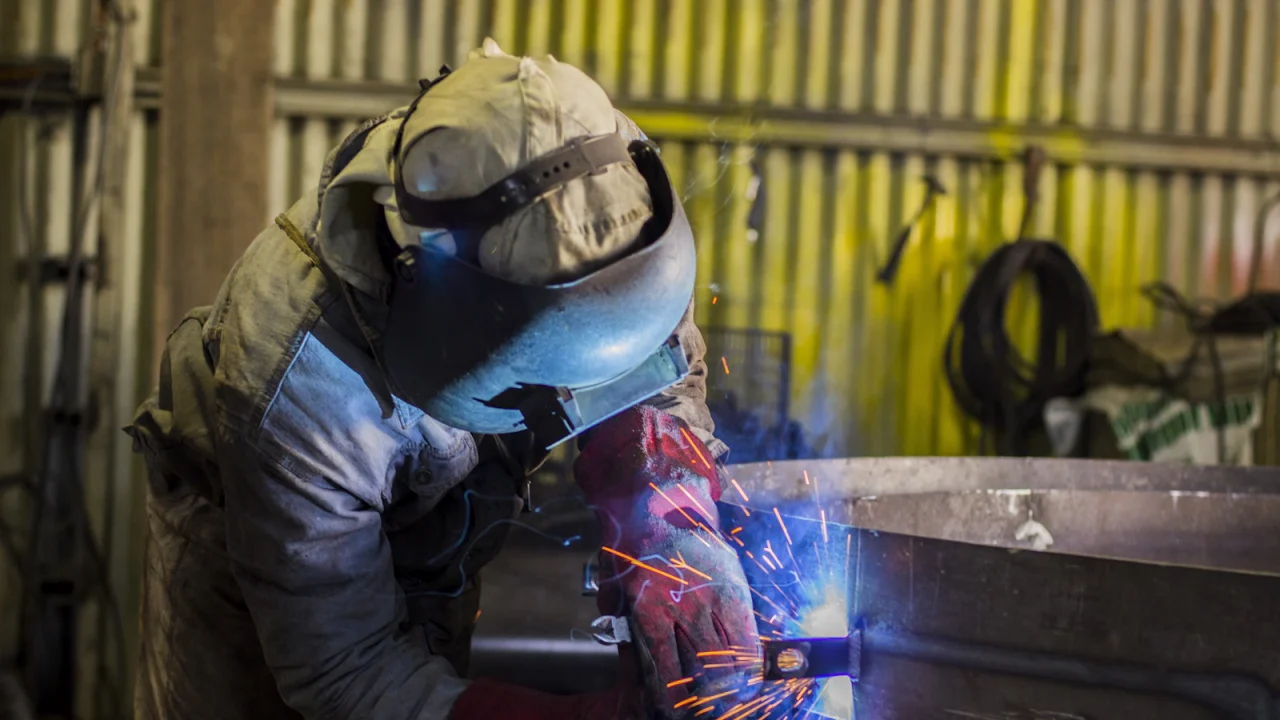
The lens decides whether a welding helmet suits you. For most home welders that means an auto-darkening filter whose shade range covers the processes and amperages you run, in a helmet marked to ANSI/ISEA Z87.1. Viewing size, graphics and extra modes come second.
On this page
Fit comes next. A helmet that sags or pinches gets lifted, and a lifted helmet protects nothing. Nothing here replaces the helmet’s manual or proper instruction.
Welding helmet types compared
| Type | Best for | Key feature | Trade-off | Check price |
|---|---|---|---|---|
| Passive fixed-shade | One process at a steady amperage, or a spare | Fixed filter plate, commonly shade 10, no electronics | Too dark to see through until the arc is lit | See on Amazon (opens Amazon in a new tab) |
| Variable-shade auto-darkening | Most beginners and hobby welders | Adjustable dark shade, commonly 9 to 13 | More settings to learn, and batteries to check | See on Amazon (opens Amazon in a new tab) |
| Large-view auto-darkening | TIG and out-of-position work | Wider view, often with four arc sensors | Heavier, with larger cover lenses | See on Amazon (opens Amazon in a new tab) |
| Powered air (PAPR) helmet | Frequent welding in fume that ventilation cannot control | Blower feeds filtered air into the hood | Bulky, with batteries and filters to maintain | See on Amazon (opens Amazon in a new tab) |
Auto-darkening vs. passive lenses
A passive lens is a fixed-shade filter plate with nothing to charge or fail. It suits one process at a steady amperage, such as stick. You cannot see the joint through it, so you position the torch with the helmet up and nod it down as you strike.
An auto-darkening filter rests in a light state, commonly shade 3 or 4, and switches to its dark shade when sensors detect the arc, so you see the joint throughout. AWS notes that keeping the helmet down also reduces the chance of stray flashes and flying particles reaching your eyes.
Lens specifications to compare
- Shade range: the dark shade must suit your process and amperage. OSHA sets minimum shades in 29 CFR 1910.133, and the comfort shades AWS suggests for typical home amperages fall between 10 and 12, so a 9 to 13 range covers them. The helmet shade guide has the chart.
- Arc sensors: listings show two to four. More sensors make it less likely that your hand or the work blocks them all, which matters out of position and with low-amperage TIG.
- Sensitivity and delay: how much light triggers the lens, and how long it stays dark after the arc stops. Both should be adjustable.
- Optical clarity and reaction time: listings often give an optical class of four numbers, with 1 the best grade for each, and a switching speed as a fraction of a second. Treat both as maker-stated figures for comparing listings, not as facts this guide can confirm.
- Grind mode: holds the lens in its light state for grinding. Switch it off before you weld.
- Power source: usually a solar cell plus a battery. A replaceable battery can be swapped, and a sealed one means replacing the lens cartridge.
Viewing area, weight and headgear
A larger viewing area shows more of the joint, but it adds weight and uses larger cover lenses, so compare viewing dimensions and helmet weight together. Headgear should adjust for head size, crown height, distance from your face and tilt, and hold its position when you nod. Look for a knob you can turn while wearing welding gloves, and check that spare headgear and cover lenses are sold.
Z87.1 marking and respirator compatibility
Look for the Z87.1 marking on the shell and the filter. AWS says a filter should carry the maker’s name, the shade or shade range, and Z87.1. A plus sign after Z87 indicates the high-impact rating. The helmet does not replace eyewear, so wear Z87.1 safety glasses with side shields under it, as the PPE checklist sets out.
If you expect to wear a respirator, check clearance first. Low-profile half-masks are made to fit under a helmet, but not under every shell. Choose the respirator from its maker’s guidance for welding fume, look for NIOSH approval, and fit it as instructed. The safety gear guide covers the rest of the kit.
Core protection
Variable-shade auto-darkening welding helmet
Why consider it
- Adjustable dark shade, commonly 9 to 13, covers the comfort shades for most home arc welding
- Light state lets you place the torch and inspect the weld with the helmet down
- Sensitivity and delay controls adapt the lens to low or high amperage
Best for: Beginners and hobby welders who want one helmet for several processes
Check price on Amazon (opens Amazon in a new tab)
Type-level recommendation. Compare current models, specifications and prices on Amazon. We may earn a commission.
Simple backup
Passive fixed-shade welding helmet
Why consider it
- Fixed filter plate with no batteries, sensors or settings
- Plates come in different fixed shades, so you change the shade by swapping the plate
- Typically lighter than an auto-darkening helmet with a similar shell
Best for: Welders who run one process at a steady amperage, or want a spare with nothing to charge
Check price on Amazon (opens Amazon in a new tab)
Type-level recommendation. Compare current models, specifications and prices on Amazon. We may earn a commission.
Common buying mistakes
- Choosing by graphics or viewing size. Check shade range, sensors and markings first.
- Assuming any auto-darkening lens suits TIG. A lens that works for MIG may flicker on a small, low-amperage arc.
- Accepting a missing Z87.1 marking. If neither the listing nor the lens shows it, choose another helmet.
Care, inspection and when to replace
Before each session, check the cover lenses and shell for cracks, wipe the sensors, test that the lens darkens as the manual describes, and confirm grind mode is off. AWS lists blocked sensors, dead batteries, wrong sensitivity settings and very cold temperatures as reasons a lens can fail to switch. Replace cover lenses when scratches and spatter cloud the view, and replace the filter if the lens is cracked, darkens unevenly, or still fails to switch after a battery change.
Frequently asked questions
Is an auto-darkening helmet worth it for a beginner?
What shade range should a welding helmet have?
Do I still need safety glasses under a welding helmet?
What happens if the battery dies in an auto-darkening helmet?
Sources and further reading
Related gear on Amazon
Shortcuts to current Amazon listings for the items mentioned in this guide. These are affiliate links.
Tools that help with this decision
- Welder Match Quiz — Ten quick questions that match you to a type of welder.
- Amperage Calculator — Estimate the amperage range for your material and process.
- Power Compatibility Checker — Verify voltage, breaker, and outlet before buying.
- Setup Generator — Build a safety-first setup checklist.