Stick Welding Basics: Rods, Amperage and Technique for Beginners
Learn stick welding basics: which rod to pick from E6010 to E7018, how to set amperage by rod diameter, and the drag technique for clean beads.
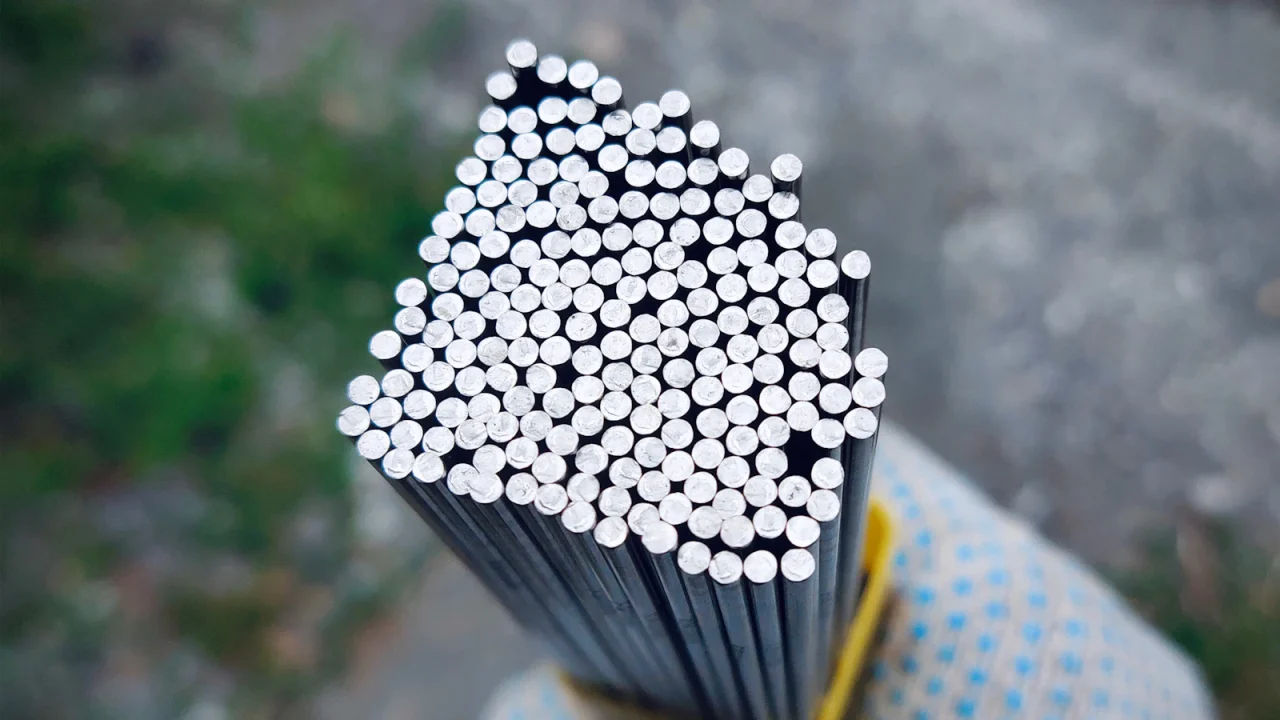
Stick welding (shielded metal arc welding, or SMAW) strikes an arc between a flux-coated rod and the work. The rod melts into the joint while its coating burns to form shielding gas and a slag layer that protects the weld as it cools. There is no gas cylinder and no wire feeder, so the equipment is simple, portable and tolerant of wind and imperfect steel.
On this page
Getting started comes down to three decisions. Pick a rod your machine can run (E6013 and E7014 are the easy ones to learn on), set amperage from the range printed on the rod box, and hold a short arc while you drag the rod at a steady speed.
What you need
A stick setup is a power source, an electrode holder, a work clamp, rods, a chipping hammer and a wire brush. Power sources are AC only, DC only or AC/DC. DC inverter machines are compact and give easier starts and a steadier arc, while AC transformer machines are heavy but simple. The stick welder buying guide covers the types.
Input power limits the rod size you can run. A 120V machine typically handles 3/32 inch rods and sometimes 1/8 inch, while 240V opens up larger rods and thicker steel. The 120V vs 240V comparison explains the trade-off. If you need a new circuit or outlet for a welder, have a qualified electrician install it.
Stick throws sparks and hot slag, so cover up fully. The PPE checklist lists what to wear.
How to read rod numbers
Take E7018 as an example. The E means electrode. The first two digits are the minimum tensile strength of the weld metal in thousands of psi, so 70 means 70,000 psi. The third digit is the welding position, and 1 means all positions. The last digit, read together with the third, identifies the coating type and the current the rod runs on.
Common rods compared
| Rod | Current | Penetration | Best use | Notes |
|---|---|---|---|---|
| E6010 | DC only | Deep | Root passes and repairs on rusty or dirty steel | Cellulosic coating with a fast-freeze puddle. The tight arc is hard for beginners, and some small inverters will not run it. |
| E6011 | AC or DC | Deep | Repairs on rusty or painted steel, especially with AC machines | Behaves much like E6010. Leaves a rougher bead with more spatter. |
| E6013 | AC or DC | Light to medium | Sheet metal, thin sections and general light repair | Soft arc that is easy to strike. Works best on clean steel. |
| E7014 | AC or DC | Light to medium | General fabrication on clean steel | Iron-powder coating. An easy drag rod that deposits metal quickly. |
| E7018 | AC or DC | Medium | Strong, smooth welds on thicker steel | Low-hydrogen coating that must be kept dry. Needs a short arc, and restarts take practice. |
For first practice, E6013 or E7014 in 3/32 or 1/8 inch is forgiving. Move to E7018 once you can hold a consistent short arc, and keep E6011 on hand for steel you cannot clean fully.
Setting amperage
A widely used rule of thumb is about 1 amp per .001 inch of electrode diameter. That puts a 3/32 inch (.094) rod near 90 amps and a 1/8 inch (.125) rod near 125 amps as a midpoint. From there, adjust within the range the electrode maker prints on the box, because the range changes with rod type as well as diameter. Check your machine manual too. None of these figures is guaranteed for your setup.
The arc tells you which way to go:
- Too low: the rod sticks, the arc stutters or goes out, and the bead sits tall and narrow on the surface.
- Too high: heavy spatter, undercut along the edges, a wide flat bead, and a rod that glows red before it is used up.
Change settings in steps of 5 to 10 amps and run a test bead on scrap of the same thickness. On thin material, drop to a smaller rod rather than starving a large one of current.
Technique: strike, drag and watch the puddle
- Strike. Scratch the tip across the steel like a match, or tap it, then lift slightly. If it sticks, twist the holder to snap it free.
- Arc length. Hold a gap about equal to the diameter of the rod’s metal core. A long arc causes spatter, undercut and porosity.
- Angle. Keep the rod square to the joint side to side and tilt it 5 to 15 degrees in the direction of travel. Stick is a drag process: if there is slag, you drag.
- Travel speed. Keep the arc on the leading edge of the puddle. Too slow piles up a wide, lumpy bead, and too fast leaves a thin, stringy one.
- Feed. The rod gets shorter as it burns, so move your hand steadily toward the work to keep the arc length constant.
Let the weld cool for a moment, then chip the slag and wire-brush the bead before the next pass. Slag left behind gets trapped in the next weld. Wear eye protection when chipping, since hot slag can fly off as it cools.
Storing rods
E7018 is a low-hydrogen rod, and its coating absorbs moisture from the air. Damp rods cause porosity and can lead to cracking. Buy small sealed packs, keep them closed and dry, and follow the manufacturer’s storage and re-drying instructions. E6010 and E6011 are different: store them dry at room temperature, not in a heated rod oven, unless the maker says otherwise.
What to practice first
- Run straight beads on flat 3/16 or 1/4 inch plate until width and height are even.
- Practice restarts: strike just ahead of the crater, move back into it, then continue.
- Weld lap joints and T-joints in the flat and horizontal positions.
- Try E7018, then E6011 on rusty scrap, and compare how each behaves.
When your beads are consistent, pick something from the list of beginner welding projects. Keep practice to non-critical work. Structural, pressure-containing and vehicle-frame welds need qualified procedures and inspection, and they are not learning projects. Review the welding safety basics before your first arc.
Frequently asked questions
What is the easiest stick rod for a beginner?
Can I run E7018 on an AC welder?
Why does my rod keep sticking to the metal?
What rod diameter should I buy first?
Is stick or flux-core better for outdoor work?
Sources and further reading
Keep reading
Related guides
Material guide
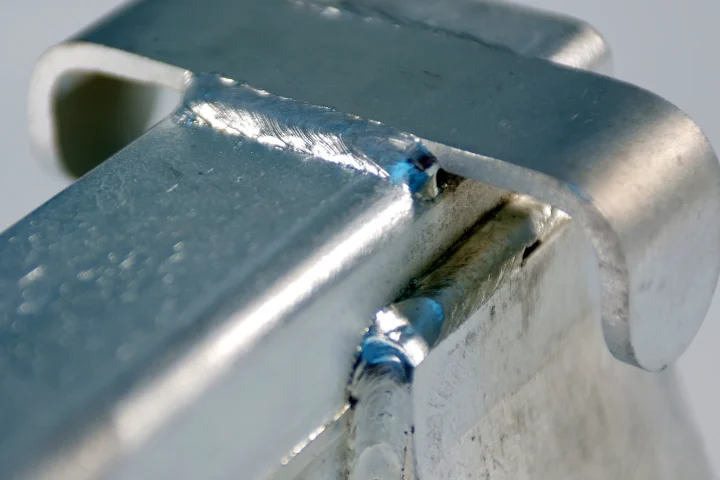
How to Weld Aluminum: Processes, Prep and Common Problems
Aluminum needs AC TIG or MIG with a spool gun, pure argon and careful cleaning. This guide covers prep, filler choice, technique…
Buying advice
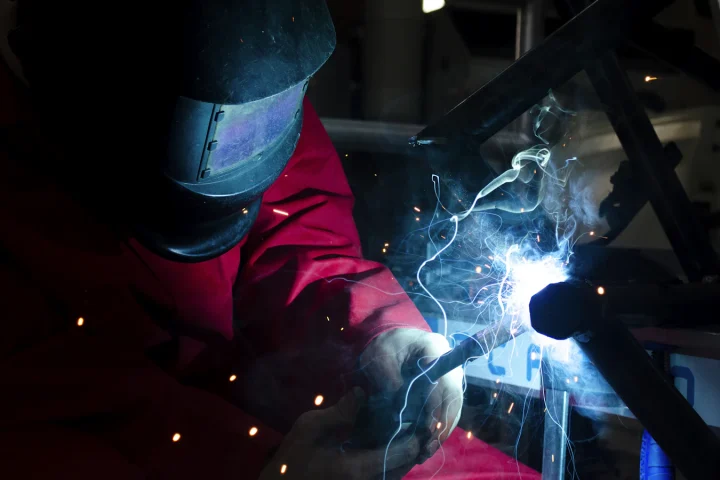
What Welder Should a Beginner Buy?
A beginner should usually buy a wire-feed welder: 120V flux-core for a low-cost start, or a gas-capable MIG machine for cleaner welds…
Material guide
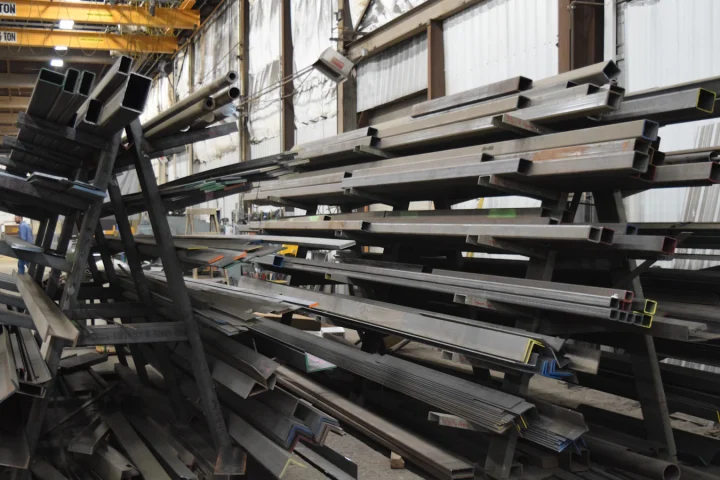
How to Weld Mild Steel: The Beginner’s Material Guide
Mild steel is the easiest metal to learn welding on. This guide covers prep, process choice, wire and rod selection, fit-up, distortion…