Welding Helmet Shade Guide: Which Lens Shade Do You Need?
Most home MIG, stick and TIG welding needs a shade 10 to 12 lens; this chart gives OSHA minimum and comfort shades by process and amperage.
WelderGuru is reader-supported. As an Amazon Associate we earn from qualifying purchases made through links on this page, at no extra cost to you. Learn more.
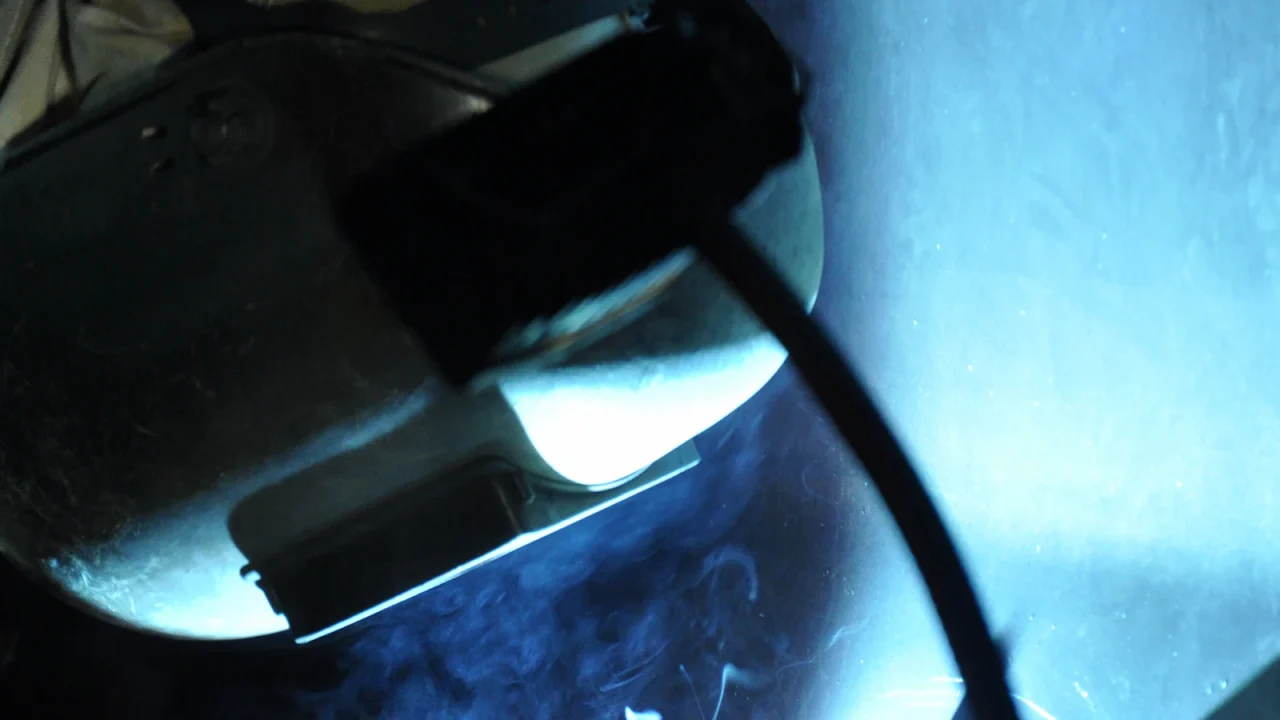
For most home welding the answer is shade 10 to 12. Stick welding between 60 and 160 amps is usually comfortable at shade 10, MIG and flux-core in the same range at shade 11, and TIG between 50 and 150 amps at shade 12. Go darker as amperage climbs past 160.
On this page
Those are comfort shades from the lens shade selector in ANSI Z49.1, the welding safety standard published by the American Welding Society. OSHA’s minimums are lower. The chart below gives both.
Lens shade chart for arc welding and plasma cutting
Find your process, then your amperage. The third column is the OSHA minimum from 29 CFR 1910.133. The fourth is the comfort shade commonly suggested for that range.
| Process | Arc current (amps) | OSHA minimum protective shade | Commonly suggested comfort shade (ANSI Z49.1) |
|---|---|---|---|
| Stick (SMAW) | Under 60 | 7 | — |
| Stick (SMAW) | 60–160 | 8 | 10 |
| Stick (SMAW) | 160–250 | 10 | 12 |
| Stick (SMAW) | 250–550 | 11 | 14 |
| MIG and flux-core (GMAW/FCAW) | Under 60 | 7 | — |
| MIG and flux-core (GMAW/FCAW) | 60–160 | 10 | 11 |
| MIG and flux-core (GMAW/FCAW) | 160–250 | 10 | 12 |
| MIG and flux-core (GMAW/FCAW) | 250–500 | 10 | 14 |
| TIG (GTAW) | Under 50 | 8 | 10 |
| TIG (GTAW) | 50–150 | 8 | 12 |
| TIG (GTAW) | 150–500 | 10 | 14 |
| Plasma arc cutting | Light, under 300 | 8 | 9 |
| Plasma arc cutting | Medium, 300–400 | 9 | 12 |
| Plasma arc cutting | Heavy, 400–800 | 10 | 14 |
A dash means the selector lists no comfort shade for that range, so use the minimum or darker. For plasma cutting, the OSHA values apply where the arc is clearly seen, and the standard notes that lighter filters may be used when the workpiece hides the arc. The current AWS selector also splits plasma cutting below 80 amps into smaller bands with lighter shades, so follow your cutter’s manual.
Oxy-fuel welding, cutting, and brazing
Flame processes are far less bright than an electric arc and use lighter filters. Here the shade depends on plate thickness, not amperage.
| Operation | Plate thickness | OSHA minimum protective shade | Commonly suggested shade (AWS selector) |
|---|---|---|---|
| Gas welding, light | Under 1/8 in. | 4 | 4 or 5 |
| Gas welding, medium | 1/8 to 1/2 in. | 5 | 5 or 6 |
| Gas welding, heavy | Over 1/2 in. | 6 | 6 or 8 |
| Oxygen cutting, light | Under 1 in. | 3 | 3 or 4 |
| Oxygen cutting, medium | 1 to 6 in. | 4 | 4 or 5 |
| Oxygen cutting, heavy | Over 6 in. | 5 | 5 or 6 |
| Torch brazing | Any | 3 | 3 or 4 |
These shades are not enough for arc welding. A shade 5 cutting lens does not protect your eyes from an electric arc.
How to choose your shade within the range
The OSHA table carries its own rule of thumb: start with a shade that is too dark to see the weld zone, then go to a lighter shade that gives a sufficient view of the weld zone without going below the minimum.
- If you see spots or afterimages when you lift the hood, or your eyes feel tired or gritty after a session, go darker.
- If you can’t see the joint or the puddle, clean or replace the cover lens and add light on the work before you go lighter.
- When you turn the amperage up, turn the shade up with it.
The shade number controls how much visible light reaches your eyes. AWS notes that auto-darkening filters include a filter that blocks harmful radiation even if the lens fails to switch, so adjusting the shade is about glare and visibility. The setting still must not go below the minimum.
Why TIG, MIG, and stick differ
The chart suggests different shades for similar currents: 10 for stick at 60 to 160 amps, 11 for MIG in the same range, and 12 for TIG at 50 to 150. A TIG arc is clean and fully exposed, with no flux smoke around it, and you watch it from close range.
Low-amperage TIG adds a second issue. A small, steady arc gives the helmet’s sensors less light to detect, so an auto-darkening lens that works well for MIG or stick may flicker or fail to darken on thin-sheet TIG work. If you plan to TIG, look for a helmet with a stated low-amperage TIG rating.
Auto-darkening helmets: what the controls do
An auto-darkening filter rests in a light state until its sensors detect an arc, then switches to the dark shade you have set. The terms to know:
- Variable shade range: commonly 9 to 13. Some lenses add a lower range, such as 5 to 8, for cutting.
- Light state: the resting shade, often 3 or 4, which lets you position the torch without lifting the hood.
- Arc sensors: usually two to four. More sensors make it less likely that your hand or the workpiece blocks all of them.
- Sensitivity: how much light it takes to trigger the lens. Raise it for low-amperage welding, and lower it if sunlight sets the lens off.
- Delay: how long the lens stays dark after the arc stops. Use a longer delay at high amperage, when the weld keeps glowing.
- Grind mode: holds the lens in its light state for grinding. Switch back before you weld.
- Markings: the filter should carry the maker’s name, the shade or shade range, and Z87.1, the ANSI eye and face protection standard.
AWS lists the usual reasons a lens fails to darken: blocked sensors, dead batteries, wrong sensitivity settings, and very cold temperatures.
A fixed-shade lens, usually shade 10, costs less and has nothing to switch, but you have to lower it just before you strike the arc. The welding helmets guide compares the two types.
Core protection
Auto-darkening welding helmet
Why consider it
- A variable shade range of 9 to 13 covers the comfort shades for most home arc welding
- Sensitivity and delay controls let you tune the lens for low-amperage or high-amperage work
- Look for the Z87.1 marking and, if you plan to TIG, a stated low-amperage rating
Best for: Hobby welders who want one helmet for stick, MIG, flux-core and TIG
See current options on Amazon (opens Amazon in a new tab)
Type-level recommendation. Compare current models, specifications and prices on Amazon. We may earn a commission.
What else your eyes need
Wear Z87.1 safety glasses with side shields under the helmet, as the PPE checklist sets out, because you will lift the hood to chip and grind. Anyone nearby needs protection too, so screen the arc as described in the home welding area guide.
Frequently asked questions
What shade should I use for MIG welding at home?
Is a shade 10 lens dark enough for everything?
Why do I see spots after welding with an auto-darkening helmet?
Sources and further reading
Keep reading
Related guides
Safety
Welding Safety Basics: The Real Hazards and How to Control Them
Welding has six real hazards (arc rays, fire, fumes, electric shock, gas cylinders and grinding), and each one has specific controls that…
Guide
How to Set Up a Safe Home Welding Area
A safe home welding area needs bare concrete, combustibles moved 35 feet away or shielded, ventilation, a suitable circuit and a fire…
Safety
Welding PPE Checklist: What to Wear Before You Strike an Arc
Before you weld, put on a helmet, safety glasses, a flame-resistant jacket, leather gloves, cuffless pants over leather boots and hearing protection.