Plasma Cutting Basics: How It Works and What You Need
How a plasma cutter works, the air supply and gear it needs, how to read cut capacity ratings, and the technique behind a clean cut.
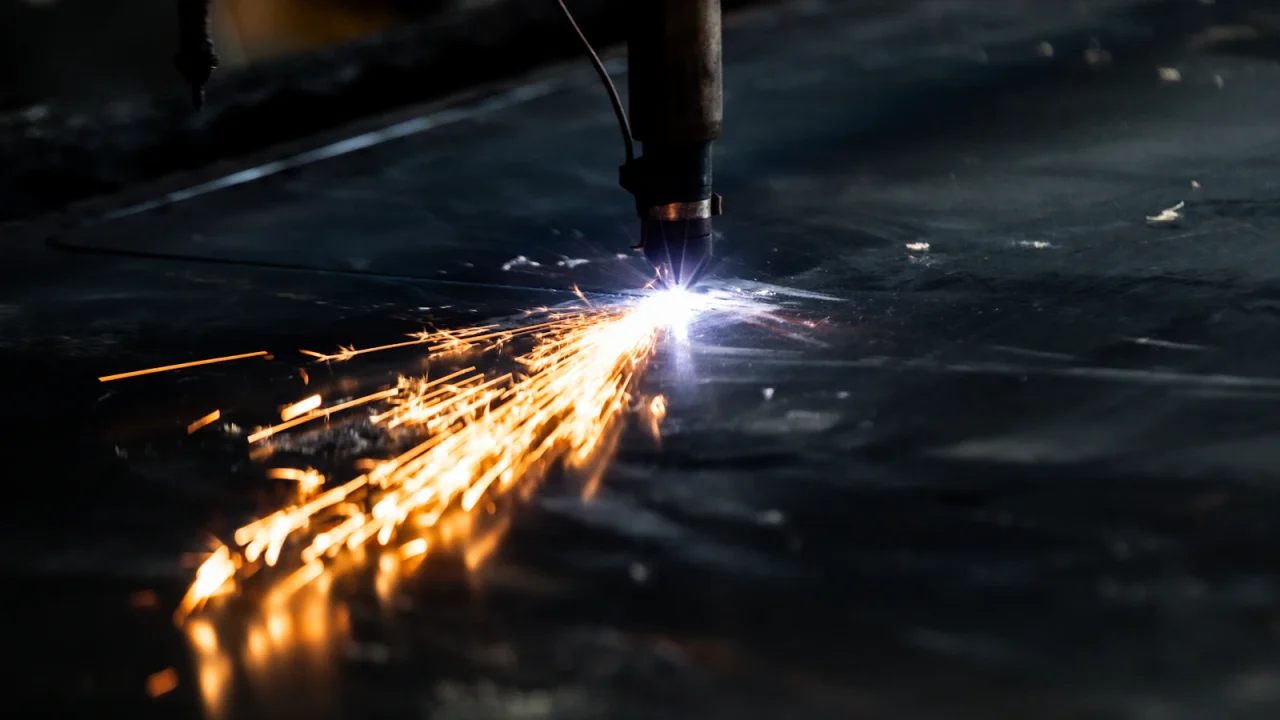
A plasma cutter pushes compressed air through a small nozzle and runs an electric arc through that air. The arc heats the air into plasma, a gas hot enough to conduct electricity, and the jet melts a narrow line of metal and blows it out the bottom of the cut. Because the workpiece is part of the circuit, plasma cuts only metals that conduct electricity, which covers mild steel, stainless steel and aluminum.
On this page
To cut at home you need the cutter, a supply of clean, dry compressed air, a work clamp on bare metal, a suitable circuit and protective gear.
What you need to start cutting
- A plasma cutter sized for the metal thickness you cut most often.
- Compressed air. Small hand-held cutters commonly need around 4 to 8 cubic feet per minute at roughly 90 to 120 psi, and some have a compressor built in. Confirm the figures in your machine’s manual.
- An air filter or dryer. Compressors make water as they run. Moisture and oil reaching the torch destabilize the arc, erode the electrode and nozzle and leave a rough edge. Drain the tank regularly and fit a filter or dryer near the cutter.
- A work clamp on clean, bare metal on the workpiece, close to the cut.
- Protective gear. Wear a welding helmet or cutting shield with a filter chosen for the cutting amperage, as explained in the welding helmet shade guide. Add safety glasses, gloves, flame-resistant clothing, leather boots and hearing protection from the welding PPE checklist.
- A suitable circuit. Have a qualified electrician install any new outlet or circuit.
Reading cut capacity, duty cycle and input power
Manufacturers list more than one thickness for the same machine, and definitions vary a little between makers. The rated cut, also called the clean or quality cut, is the mild steel thickness the machine cuts smoothly at a practical hand speed. The sever cut is the most it can get through at all, moving very slowly and leaving an edge that needs heavy cleanup. Match the rated cut to your usual material and treat the sever figure as an occasional limit.
Duty cycle is the share of a ten-minute period the machine can cut at a stated output before it must cool. A 35% rating means about three and a half minutes of cutting, then six and a half minutes of rest.
Many 120V cutters are typically suited to sheet metal and plate up to around 1/4 inch, and may need a 30 amp circuit to reach full output. 240V machines generally cut thicker metal and run longer, and some dual-voltage units accept either supply. The guide to 120V vs 240V machines explains the trade-offs.
Arc starting also differs. In general terms, a pilot arc torch forms a small arc inside the torch before it reaches the work, so it starts over paint, rust and gaps such as expanded metal. A basic contact start torch must touch the workpiece to start, which is simpler but harder on consumables and less reliable on coated surfaces.
Consumables and signs of wear
- Electrode: carries the current. A deep pit in the insert at its tip means it is worn out.
- Nozzle, also called the tip: squeezes the arc through a small round orifice. An oval, enlarged or nicked orifice gives a wide, angled cut.
- Shield or drag cap: protects the nozzle from spatter and, on a drag shield, sets the torch height.
A widening cut, more bevel than usual and hard starting all point to worn parts. Replace the electrode and nozzle as a pair, use the parts specified for your torch and tighten the retaining cup by hand only.
Cutting technique
Standoff is the gap between the nozzle and the metal, commonly in the region of 1/16 to 1/8 inch. A drag shield rests on the plate and holds that gap for you, and some low-amperage torches are designed to drag the tip directly on the metal. Check which method your torch is built for.
Hold the torch square to the surface and steady it with your other hand or a guide. Judge travel speed by the sparks under the plate. Sparks dropping straight down mean you are too slow. Sparks spraying back over the top mean you are too fast and the arc is not getting through.
Starting at an edge is easiest on consumables. To pierce in the middle of a sheet, angle the torch so molten metal blows away from the nozzle, start the arc, then roll the torch upright once it is through. For a deliberate bevel, tilt the torch to the angle you want and slow down, because the arc has more metal to pass through.
| Problem | Likely causes | What to do |
|---|---|---|
| Heavy, bubbly dross that chips off easily | Travel too slow or amperage too high | Speed up or lower the output |
| Thin, hard dross that is difficult to remove | Travel too fast or amperage too low | Slow down until sparks trail slightly |
| Beveled edge | Torch not square, standoff too high, worn nozzle | Square the torch, close the gap, inspect the orifice |
| Wide kerf | Worn nozzle, standoff too high, travel too slow | Replace electrode and nozzle, hold a steady height |
| Arc does not transfer | Poor clamp contact, torch too far away, low air pressure, worn parts | Clamp to bare metal, then check air and consumables |
Plasma vs oxy-fuel vs abrasive cutting
| Factor | Plasma | Oxy-fuel | Abrasive disc |
|---|---|---|---|
| Metals | Any conductive metal | Carbon steel only | Most metals, with the right disc |
| Best suited to | Sheet and plate up to the rated cut | Moderate to very thick steel | Thin stock and short cuts |
| Needs | Electricity and compressed air | Oxygen and fuel cylinders | A grinder or chop saw |
| Curves and shapes | Easy | Possible with practice | Mostly straight cuts |
| Main drawbacks | Needs dry air, consumables wear | Cylinder handling, high heat input | Slow, noisy, discs can shatter |
If most of your cutting is thick carbon steel, or you have no power where you work, read the guide to oxy-fuel welding and cutting.
Safety
- Fumes: cut with good ventilation or fume extraction, keep your head out of the plume and take extra care with stainless, galvanized and painted metal.
- Fire: the jet throws sparks and molten metal many feet, including under the work and through gaps. Clear combustibles, keep an extinguisher within reach and check the area after you finish. See setting up a home welding area.
- Noise: plasma is loud enough to damage hearing over time. Wear earplugs or earmuffs.
- Electric shock: the torch runs at a higher voltage than a welding arc. Switch the machine off before touching torch parts, and keep the area dry.
- Containers: never cut a tank, drum or any container that has held fuel or other flammable material, even if it looks empty. Residue and vapor can explode.
The general rules in welding safety basics apply to cutting as well.
Frequently asked questions
Can a plasma cutter cut aluminum and stainless steel?
How big an air compressor do I need for a plasma cutter?
Why do my consumables wear out so fast?
Sources and further reading
Keep reading
Related guides
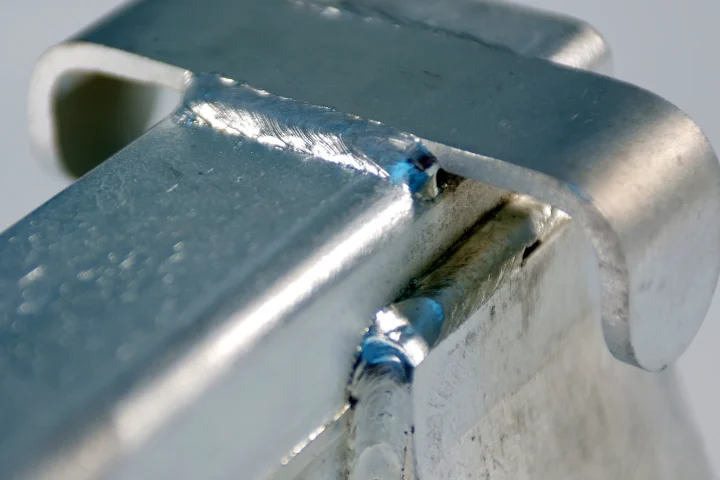
Material guide
How to Weld Aluminum: Processes, Prep and Common Problems
Aluminum needs AC TIG or MIG with a spool gun, pure argon and careful cleaning. This guide covers prep, filler choice, technique…
Buying advice
What Welder Should a Beginner Buy?
A beginner should usually buy a wire-feed welder: 120V flux-core for a low-cost start, or a gas-capable MIG machine for cleaner welds…
Material guide
How to Weld Mild Steel: The Beginner’s Material Guide
Mild steel is the easiest metal to learn welding on. This guide covers prep, process choice, wire and rod selection, fit-up, distortion…